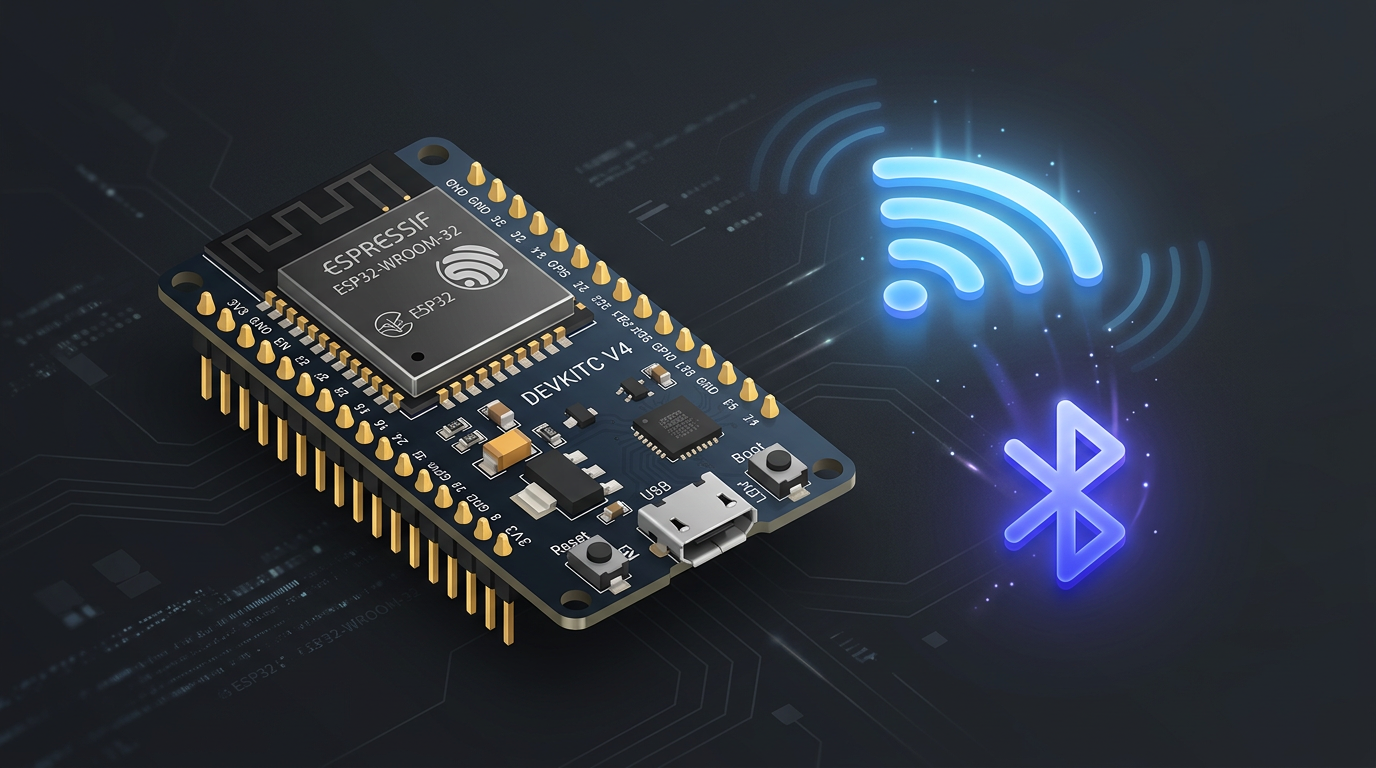
How an ESP32 Became My Bluetooth Hub
My Home Assistant instance runs in Docker on a Zimaboard tucked away in a rack in my server closet. It’s a great setup (quiet, always on, centrally managed) but it comes with one significant limitation: no Bluetooth. And even if I bolted a USB Bluetooth dongle onto it, the physical location is basically a Faraday cage for BLE signals. Thick walls, a metal rack, and a concrete floor don’t make for great wireless propagation.
Meanwhile, my home has a growing collection of Bluetooth devices that I really wanted to pull into Home Assistant locally:
- SwitchBot sensors and accessories
- IKEA Lineak standing desk
- Airthings air quality monitors
- Bluetti AC2A portable power station
- Oral-B toothbrush (😉 brushing data in HA is a thing)
Most of these were either cloud-dependent or completely dark to Home Assistant because there was nothing to hear them. The fix turned out to be really simple: a $10 ESP32 and about 15 minutes of work.
What Is a Bluetooth Proxy?
A Bluetooth proxy is essentially a BLE-to-Wi-Fi bridge. The ESP32 listens passively for all Bluetooth Low Energy (BLE) advertisements within its range, then forwards that data to Home Assistant over Wi-Fi. Home Assistant receives it as if it came from a local Bluetooth adapter, no cloud, no hub, no intermediary service required.
The beauty of this approach is that the ESP32 can sit anywhere you have power and Wi-Fi. It doesn’t need to be near the server, it just needs to be near your devices. You can scatter multiple proxies around your home for full coverage, and Home Assistant automatically aggregates them all into a single unified Bluetooth layer.
ESPHome has supported this natively since being acquired by Nabu Casa, and the configuration is minimal. By default, an ESP32 running over Wi-Fi supports three simultaneous active Bluetooth connections, which is plenty for most setups.
Flashing the ESP32
The fastest path is through the official ESPHome Bluetooth proxy web installer. It works entirely from Chrome or Edge, no software to install, no command line needed for a basic setup.
- Plug your ESP32 into your computer via USB
- Go to
esphome.io/projects/and select Generic ESP32 - Click Connect, select the serial port, and flash
- Enter your Wi-Fi credentials when prompted
- Done! the device boots and connects to your network
If you want more control (OTA updates, encryption, diagnostics), you can adopt the device into ESPHome and use a proper YAML config. Here’s a minimal but solid configuration I ended up with:
1
2
3
4
5
6
7
8
9
10
11
12
13
14
15
16
17
18
19
20
21
22
23
24
25
26
27
28
29
30
31
32
33
34
35
36
37
38
39
40
41
42
43
44
45
46
47
48
49
50
substitutions:
  name: "bt-proxy-living-room"
  friendly_name: "BT Proxy - Living Room"

esphome:
  name: ${name}
  friendly_name: ${friendly_name}

esp32:
  board: esp32dev
  framework:
    type: esp-idf

logger:

api:

ota:
  - platform: esphome
    password: !secret ota_password

wifi:
  ssid: !secret wifi_ssid
  password: !secret wifi_password
  captive_portal:

esp32_ble_tracker:
  scan_parameters:
    interval: 1100ms
    window: 1100ms
    active: true

bluetooth_proxy:
  active: true

button:
  - platform: restart
    name: "BT Proxy Restart"
    icon: "mdi:restart"
    entity_category: diagnostic

sensor:
  - platform: uptime
    name: "Uptime"
    entity_category: diagnostic

text_sensor:
  - platform: version
    name: "Firmware Version"
    entity_category: diagnostic
Tip: The
restartbutton entity is incredibly useful, you can trigger a reboot from HA if the proxy ever stops responding without having to physically unplug it.
Once flashed, the ESP32 shows up automatically under Settings → Devices & Services → ESPHome in Home Assistant. No manual IP entry required.
What Happened Next (The Good Part)
As soon as the proxy came online and was adopted into Home Assistant, something satisfying happened: the notification bell lit up with a pile of new discovered devices. Every Bluetooth device in range started showing up in the integrations panel, ready to be configured.
Here’s what got picked up automatically:
SwitchBot Devices
The SwitchBot Bluetooth integration in Home Assistant connects directly to devices over BLE, no SwitchBot Hub, no SwitchBot cloud required. The proxy relayed the BLE advertisements and HA immediately offered to configure each device. State updates use a local push strategy, meaning the devices actively broadcast changes rather than being polled.
Oral-B Toothbrush
This one always gets a reaction. The Oral-B integration in HA picks up brushing mode, pressure data, and session state, all passively via BLE. With the proxy, it just worked. Now my morning routine is an HA event.
IKEA Lineak Standing Desk
The IKEA desk exposes itself as a BLE device and gets picked up via the Bluetooth integration. It shows up as a cover/damper entity in Home Assistant, letting me track and set desk height from automations. I have it set to remind me to stand up after 90 minutes of sitting.
Airthings Air Quality Monitors
Airthings has two integration paths: cloud (via their API) and local BLE. With the proxy, the Airthings BLE integration (airthings_ble) handles everything locally, no need for the Airthings app or cloud sync. The integration auto-discovers devices once Bluetooth is functional, using the device’s serial number to identify it.
If you’ve been using the cloud Airthings integration and switching to BLE, you’ll find the BLE version is faster, more reliable, and updates don’t depend on whether you’ve recently opened the Airthings app.
Bluetti AC2A
The Bluetti AC2A power station supports BLE monitoring and is integrated via the hassio-bluetti-bt custom integration. With the proxy in the same room as the battery, it connects reliably and exposes battery percentage, input/output power, and charging state, all piped into the Energy Dashboard.
Placement Strategy
Location matters for the proxy. Think of the ESP32 as a Bluetooth access point: place it where your devices are densest, not where your server is. BLE range indoors is typically 10–15 metres, but walls and interference shrink that quickly.
For a single-story apartment or open space, one proxy centrally placed often covers everything. For multi-floor homes or spaces with thick walls, running 2–3 proxies is the recommended approach. Home Assistant automatically routes each device through whichever proxy has the strongest signal, so overlapping coverage zones just increase resilience, there’s no conflict.
A Note on Reliability
It’s worth mentioning one known quirk: the ESP32’s Bluetooth stack can occasionally stall after extended uptime, the device stays connected to Wi-Fi and remains visible in HA, but stops forwarding BLE data. A physical unplug-replug fixes it immediately.
The most robust mitigation is a scheduled reboot automation. This runs a restart at a quiet time (e.g., 4 AM) so you never notice:
1
2
3
4
5
6
7
8
9
automation:
  - alias: "BT Proxy - Daily Reboot"
    trigger:
      - platform: time
        at: "04:00:00"
    action:
      - service: button.press
        target:
          entity_id: button.bt_proxy_living_room_restart
If you have multiple proxies, stagger their reboot times by 15–20 minutes so you always have coverage during the restart window.
Finishing Touch: A 3D Printed Case
With everything working, the bare ESP32 dev board sitting on a desk felt a bit unfinished, functional, but not exactly something you’d be proud to have visible in your living space. The natural next step was to 3D print a proper enclosure to clean things up.
I used this model from MakerWorld: ESP32 WROOM Case. It fits the standard ESP32-WROOM-32 dev board snugly, with cutouts aligned to the USB port, the reset button, and the antenna end. Printed it in matte black PLA and it looks like an actual product rather than a prototype.
Conclusion
The real win here isn’t convenience, it’s sovereignty. Every one of these devices now works entirely without an internet connection. No vendor cloud to go down, no subscription required to see your own air quality data.
With a single ESP32, a USB phone charger, and ESPHome, a Home Assistant setup that had zero Bluetooth presence gained full visibility into every BLE device in the home. The proxy approach also scales gracefully: add more ESP32s as you add more devices or floors, and the HA Bluetooth layer simply gets stronger.
For anyone running Home Assistant without native Bluetooth, whether on a VM, a container, an older server, or any device where the physical location isn’t ideal, this is the cleanest solution available. The hardware cost is around $10 CAD and the setup time is under 20 minutes.